
We'd already been planning our wedding for a long time when Echo Park's Happy Days collection came out. To be honest, I was so consumed with making wedding decorations that I hadn't really thought ahead to what the post-wedding scrapbooking would be like. Echo Park saved me the trouble, in the end. More than that - it was a match made in heaven.
Of course, recently I've been getting stuck in to that post-wedding scrapping, recording our happy day.
This layout you've already seen:
I stitched and stamped before sticking down the paper strips. Then I added a printed swallow, a Cricut-cut nautical star and an RSVP - all from the wedding invitations - as extra memories. Finishing off with Happy Days chipboard shapes and Thickers was a doddle.
Why so easy? Well, Echo Park has pretty much decided my theme for me - I still want to be quite free and 'different', but I do want to have some main colours and motifs running through the pages. And Happy Days is perfect - you've seen the photos of the wedding. It should help me reach that subtle theming I'm after.
I made another Happy Days layout last week - taking into account this layout too, do you think I've achieved continuity?
For the border, I cut up the remains of this chequered vellum I've had for years and machine-stictched it on, then drew a couple of extra outer lines with a black pen. To make the chevrons, I cut a strip of the reverse side of Happy Days Checker Board paper, and then cut this strip into squares. Keeping the squares in a line, turning every other square 90 degrees gave the rough pattern; then it was just a question of lining the stripes up and trimming the edges. I did the same with the Dots and Stripes paper.
Since we went for cupcakes as the wedding cake, the Happy Days element stickers had to be used: cupcakes, layer cakes and sundaes - yummy! I cut around the cake on the journalling card a little so it could stick out over the photo. Then the title - punchinella, more chevrons, and lovely pure alphas.
And finally, my piece de resistance this month...


....take one deep photo frame from a well-known supermarket chain, take it apart, and make it your own!
The frame comes with a super-thick inner mount that is quite wide, providing a great working surface. I drew around the mount directly onto the patterned paper and then simply cut out the shape I wanted to partially cover the mount. I did a teensy bit of fussy cutting to get the Retro flowers; glued some GA elements onto some thin wire and stuck them down behind the big chipboard title; and then just layered the rest up.
Of course, recently I've been getting stuck in to that post-wedding scrapping, recording our happy day.
This layout you've already seen:
 |
| Materials used: American Crafts Thickers (Rainboots in Aqua Glitter Foam); Bazzill White cardstock; Echo Park: Dots and Stripes in Concrete, Happy Days chipboard accents, Happy Days element stickers, Happy Days journalling cards, Happy Days paper (Checker Board, Little Flowers reverse side); My Mind's Eye paper (Lost and Found Union Square Perfect "Happy"); Tim Holtz Bitty Grunge stamp set. {Scrapbook Challenges Sketch #271} |
I stitched and stamped before sticking down the paper strips. Then I added a printed swallow, a Cricut-cut nautical star and an RSVP - all from the wedding invitations - as extra memories. Finishing off with Happy Days chipboard shapes and Thickers was a doddle.
Why so easy? Well, Echo Park has pretty much decided my theme for me - I still want to be quite free and 'different', but I do want to have some main colours and motifs running through the pages. And Happy Days is perfect - you've seen the photos of the wedding. It should help me reach that subtle theming I'm after.
I made another Happy Days layout last week - taking into account this layout too, do you think I've achieved continuity?
 |
| Materials used: Bazzill Dragonfly cardstock; Echo Park: Dots and Stripes in Concrete, Happy Days alpha stickers, Happy Days element stickers, Happy Days journalling cards, Happy Days paper (Checker Board reverse side); Gauche Alchemy Punchinella;Tim Holtz Bitty Grunge stamp set; Toga alphas; vellum. {Creative Scrappers sketch #181} |
For the border, I cut up the remains of this chequered vellum I've had for years and machine-stictched it on, then drew a couple of extra outer lines with a black pen. To make the chevrons, I cut a strip of the reverse side of Happy Days Checker Board paper, and then cut this strip into squares. Keeping the squares in a line, turning every other square 90 degrees gave the rough pattern; then it was just a question of lining the stripes up and trimming the edges. I did the same with the Dots and Stripes paper.
 |
| yummy! |
Since we went for cupcakes as the wedding cake, the Happy Days element stickers had to be used: cupcakes, layer cakes and sundaes - yummy! I cut around the cake on the journalling card a little so it could stick out over the photo. Then the title - punchinella, more chevrons, and lovely pure alphas.
And finally, my piece de resistance this month...
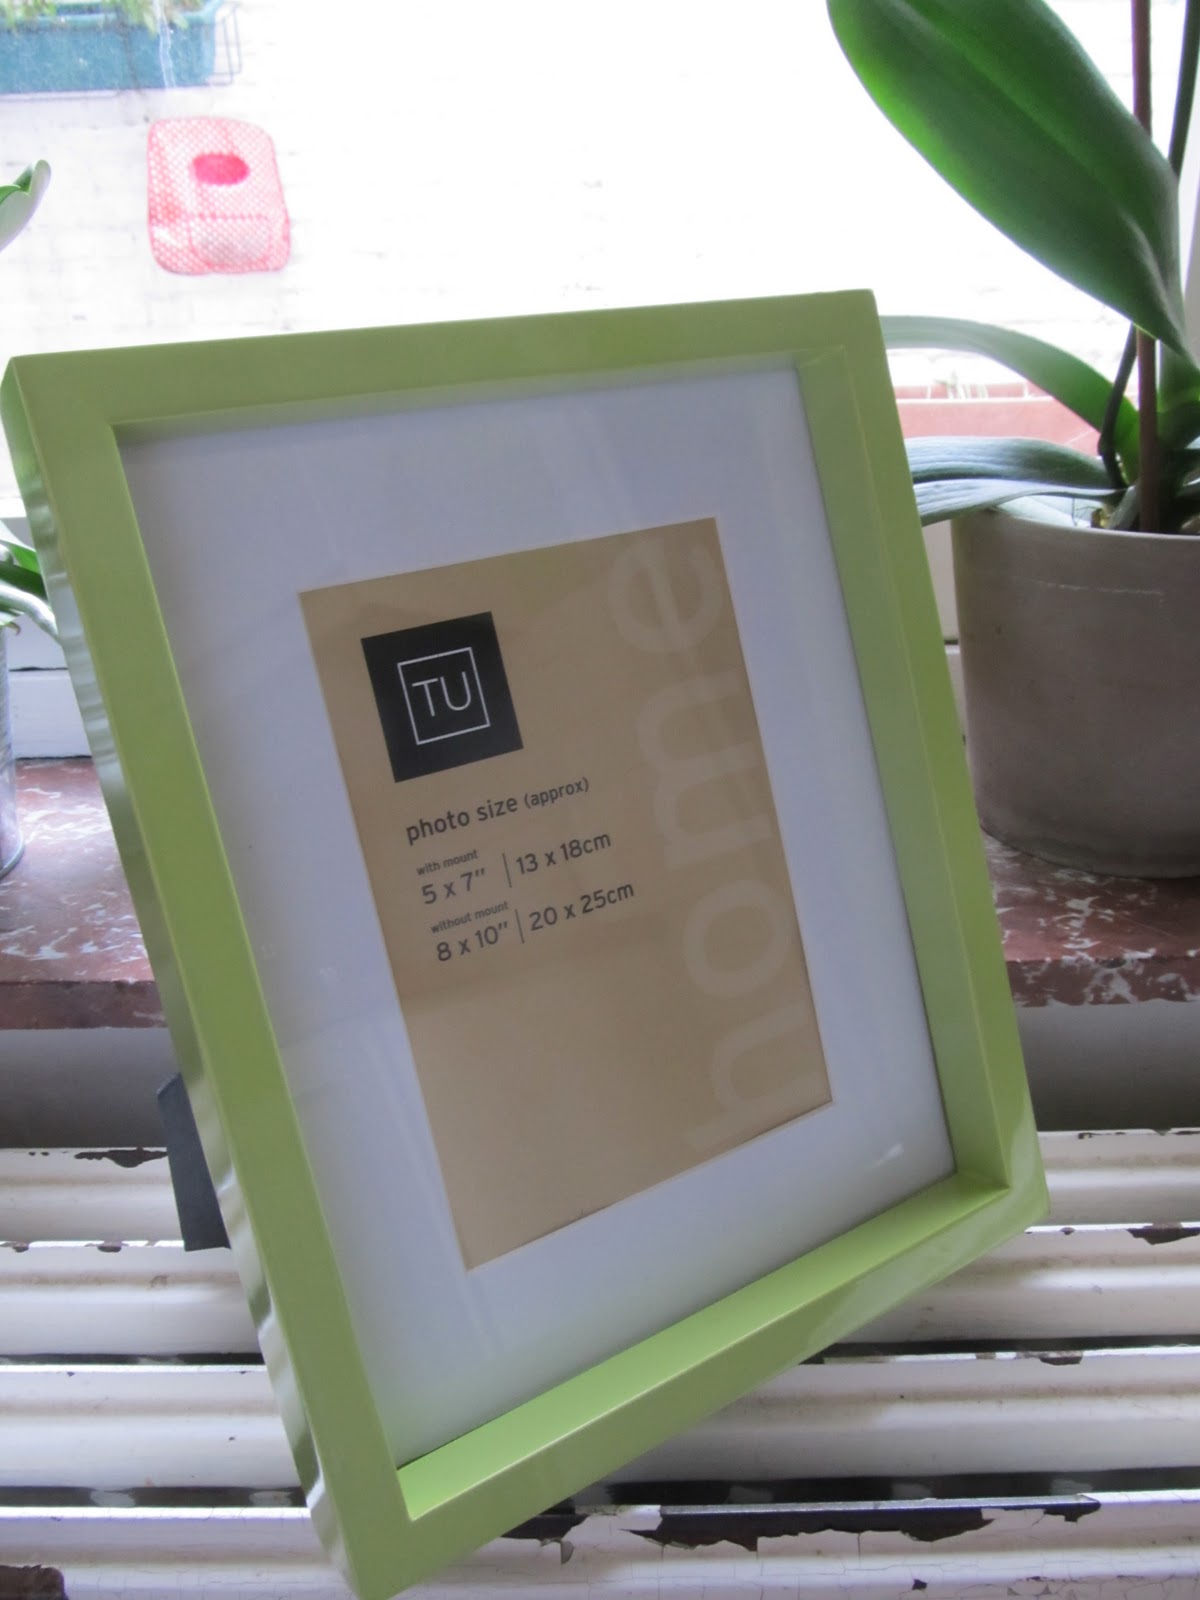

....take one deep photo frame from a well-known supermarket chain, take it apart, and make it your own!
 |
| Materials used: Echo Park: Happy Days alpha stickers, Happy Days chipboard accents, Happy Days element stickers, Happy Days paper (Ads, Retro both sides); Gauche Alchemy Punchinella and various Mixed Media Color Kits elements. |
The frame comes with a super-thick inner mount that is quite wide, providing a great working surface. I drew around the mount directly onto the patterned paper and then simply cut out the shape I wanted to partially cover the mount. I did a teensy bit of fussy cutting to get the Retro flowers; glued some GA elements onto some thin wire and stuck them down behind the big chipboard title; and then just layered the rest up.
 |
| because the frame is so deep you can really go to town on the layering |
 |
| on the subject of matches made in heaven... look at this Echo Park Happy Days chipboard accent with a vintage mini film negative from a Gauche Alchemy Mixed Media Color Kit |


