
I'll post more about the classes when the time comes, but for now, I'm in preparation mode. A key element of these classes is keeping the costs down - both for me and for the students. So I've decided to make a load of flowers instead of buying them. While I'm waiting for a special punch and emboss product to arrive on my doorstep, I'll settle for these steps:
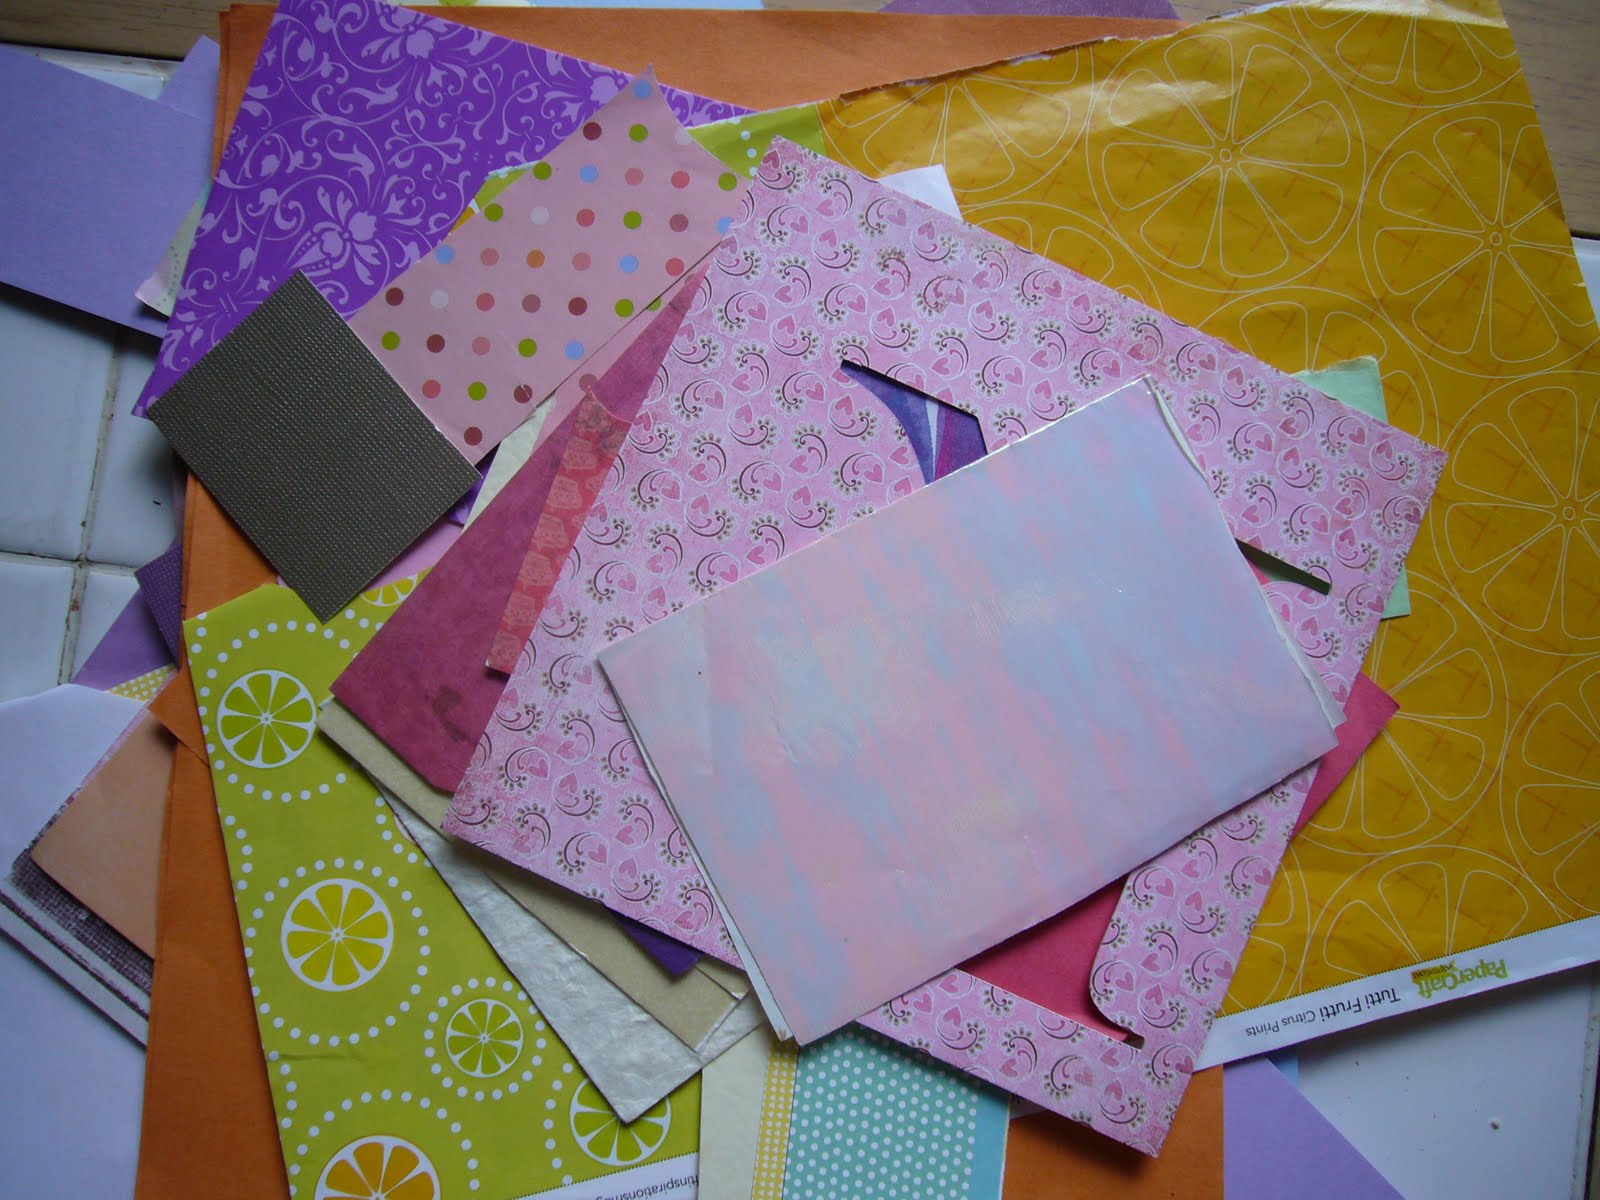
1: Gather together your paper scraps.
 2: Tool up!
 3: Prepare the paper: let yourself loose on what you want your flowers to look like. You could use patterned, textured or plain old paper or cardstock:
 You could stamp:
 2: Tool up!
 3: Prepare the paper: let yourself loose on what you want your flowers to look like. You could use patterned, textured or plain old paper or cardstock:
 You could stamp:

Or stamp and emboss:


You could emboss (with a Cuttlebug if you have one, you lucky people):

Or try out any other techniques: paint, glimmer, gloss, flock, distress, acetate...
4: Punch or cut flowers:


Or try out any other techniques: paint, glimmer, gloss, flock, distress, acetate...
4: Punch or cut flowers:

5: To achieve a look that is much more textured, much less flat, and much more attractive in general, use an embossing tool (if you have one) or the end of a thin paintbrush (if you don't) and do it by hand. For this technique I used a vellum flower:
 With the end of a paintbrush, slowly work on each petal by moving the paintbrush in increasingly larger circles, pressing down quite firmly:
Then turn the flower over and repeat the motion in the centre:

If you like, give the flower extra 'plump' by curling the petals around the paintbrush:

And there you go - no more flatness:

I actually used the grouting lines of my tiled kitchen table for this pink flower to achieve a deeper fold:

6: Store flowers in a really neat box.

And OK, after an afternoon of work, the box is half-filled. Just how many flowers will teenagers want to use, anyhow? Hmmm...don't answer that. I don't want all my work to be in vain!
 With the end of a paintbrush, slowly work on each petal by moving the paintbrush in increasingly larger circles, pressing down quite firmly:
Then turn the flower over and repeat the motion in the centre:

If you like, give the flower extra 'plump' by curling the petals around the paintbrush:

And there you go - no more flatness:

I actually used the grouting lines of my tiled kitchen table for this pink flower to achieve a deeper fold:

6: Store flowers in a really neat box.

And OK, after an afternoon of work, the box is half-filled. Just how many flowers will teenagers want to use, anyhow? Hmmm...don't answer that. I don't want all my work to be in vain!


