Showing posts with label handmade card. Show all posts

Thursday, 4 April 2013

Adventures are the Best

A little while ago friend asked me to make a 'congratulations on your wedding day'-type card for an old friend of hers, after seeing some of my mixed media canvases.

I let it all out. I love giving 'enjoy your adventure'-type messages to newlyweds, much more than the regular (might I say boring?) 'congrats'.

So, on a theme - in that the creation was also an adventure - I made this:


I gotta say, I liked it so much I didn't really want to give it away. But you gotta, you know. If you don't make something you don't wanna give away it's not worth giving.


I lost count of the layers on this. I used mists, inks, paints, chalks, stamps, stencils, stickers, paper, heat embossing... it really was an adventure through my art supplies.

I liked the theme so much I continued it for a wedding we went to not long after:


I hope all the newlyweds appreciate the message.

Speaking of adventuring, we're off to Paris today to meet up with my parents and show them around this new favourite city of mine. Adventures are the best!

Saturday, 19 May 2012

The Swing of Things

I might be getting back into the swing of things. Going out into the blog world and reading that many, many other people struggle with time is reassuring. Especially when I take into account the fact that the time is being used to house-hunt. I’m not going to go on about it much more – I promise!

My super-special team-mates at Gauche Alchemy are always sharing stuff they find online. Last week, Michelle found this, and we all had a discussion about how expensive the pens are, and whether there wasn’t another way.

Confession time: my watercolour pencils have sat long and neglected on the shelf for one most shameful reason: I couldn’t find the pencil sharpener. Anywhere. I’m talking like two years. The odd drawing pencil is fine to sharpen with my Leatherman, but not 40 watercolour pencils. In the end, spurred on by this beautiful, colourful idea, I consented to using my make-up pencil sharpener for the watercolours. And I got to work on my version of the project. Ah, the joy of objects fulfilling their purpose after a period of neglect!


I forgot how lovely watercolours are. I'm so happy too that the project works with watercolours as well as the pens. Go us and our money-saving ways!


Thursday, 15 March 2012

Roundup

Just a quick roundup of a few things today...

Cards for Boys
...are not soooo difficult, I have found lately:

that's a special birthday, that is

To get the pennants - which are stickers from Echo Park - to stand up, I first stuck them onto some paper, just up to the point where I wanted to curl them away from the card, and then adhered them by the remaining sticky part.

just like they're fluttering in the breeze
And I employed the old paper-weaving technique again for a friend's birthday card. A friend who plays the bass in a band. A hippy living, reggae loving friend.

that's another quite special birthday

Paper Piecing
Just a quick share of something I worked on for a certain wedding anniversary last year:


Stuff Going On
Don't forget the Gauche Alchemy DT Call, running till the end of the month. And don't forget the March Madness at Scrapbook Challenges - we're taking bets now, and the competition starts tomorrow! You gotta be in it to win it!


Intelligent Product Packaging
I really appreciate it when a manufacturer thinks about their packaging. Check out this freebie I got from Revlie's class:

ooh, canvas flowers!
And then you look closely, and see that they've also given you a nice thick acetate sheet with beautiful white doily patterns on:

I like acetate with patterns on. A lot.
Has anyone else come across really intelligent packaging of scrapbooking products? I want to hear about them! And why do you like them? Because they're green? Because you can reuse them? Do share!

Friday, 9 March 2012

Do YOU Want to Go Gauche?

I recently made another card solely from my Gauche Alchemy stash, and this time* I managed to save the photo before my temperamental SD card deleted it:

a his n hers kinda card
After I’d made it, I staged it, and stepped back, camera at the ready… and stopped for a moment to admire it. Yep, I actually admired one of my own cards. Over the last year, my fingers have worked hard at scrapbooking, but neglected card making to the extent that I have now lost confidence in the art. But this Gauche card, to congratulate a Gauche kind of couple on their engagement, was a doddle. And I realised that it was the nature of the products that made it so easy: I hadn’t worried about composition, balance or the message; I’d just done. The process was so enjoyable because I hadn’t had all of this worry hanging over me and my fingers were free to do as they felt. It came together in less than 20 minutes, and is perfect for the recipients.

The great news is that throughout March, in honour of National Craft Month, Gauche Alchemy is offering 10% off everything** in their store – so drop by, browse and splash out!

What news could possibly beat that? Actually, this might: if you already love Gauche Alchemy and want it to be a bigger part of your life, check out their Design Team call. It runs until the end of March so make sure you get your application in by then! The Gauche Alchemy mamas are a feisty but caring & sharing group of driven yet fun-loving ladies, and the DT are a superbly creative and active bunch. You will feel welcome from day one, will be challenged and stimulated daily, and will without doubt feel proud to be part of this growing company.

I’ve got lots of Gauche stuff planned this month so while you’re browsing, buying or applying I’ll be working at reducing my GA stash. Enjoy National Craft Month, everyone!

* I have created a few other great GA cards in the past, using various Color Kits, and the Nearly Nekkid and Acme kits, but I’d put them in the post box before my SD card did the evil deed, and the recipients haven’t managed to take photos for me yet.
** Acme subscription kits are not included in this offer.

Wednesday, 7 March 2012

A Very Special Day

Today I’d like to tell you a little story.

It was the height of the summer holidays, and a blazing hot, thirst-making kind of day. I was perhaps eight years old, and playing in the street with my friends, at the outskirts of the small town on the edge of farmland where my family spent a few years living the country life.

At some point that day, I came inside for a cold glass of refreshing lemonade, or maybe it was an ice-pop, and found my mum in the living room, listening to Kool & the Gang, knelt over a spread of fabric. There were chalk lines and scissors, pin cushions and thread, and panels ready to make up a dress for a little girl.  
I can’t remember if she asked me to stop in for a while so that she could measure me; but I do remember the fabric: it was white, with large neon orange polka dots, and it was pretty much the same shape as the dress I’m wearing today:

Cheryl's cherry dress #2
And why am I wearing such a dress today?
Today is a very special day, because a very special lady is having a very special birthday.

Last night she was surprised by an unexpected visit from us, and today she is showing us her new craft room and opening cards and presents. She also doesn’t know that this afternoon we’re going to take her out for tea.

I made her a card, naturally:

Happy Birthday, Mum!
But I also made her a little something to hang on the wall of her new craft room:

that's right. Ain't no one else's craft room.
She loves Webster’s Pages, and things in the style of Cath Kidston and East of India, so I hope this little wall decoration will meet her tastes and match her craft room. The image you can see inside is from Crafty Secrets, and I chose it because, more than scrapbooking, cardmaking, flower arranging and baking, the strongest memory I have of my mum is of her at her sewing machine.

Cute, huh? All those little sewing elements are actually buttons. I just set to work on them with my glue gun and suddenly there was a miniature sewing basket fit for a doll’s house.

Having taken direction from All Things Thrifty, I spray painted this box instead of using acrylic paint and a brush:

the finish is much smoother. Now I feel confident to move on to big pieces of furniture!

a better view of the inside
Wishing you a very happy birthday, mum!

Tuesday, 14 February 2012

I'm in the Mood for Love

About a year ago, we started trying to decide on a song for our first dance. We didn’t necessarily want a first dance, but as we’d been taking swing dancing lessons (Lindy Hop, to be exact), we admitted that we were certainly going to dance, and that one of the dances would naturally have to be the first one. So we threw ourselves full swing (hehe) into the search.

Now, between us we have a lot of music. And when I say a lot, I mean a lot. Not just in sheer volume, but also in the range of eras, genres, levels of fame and success, and sources and styles. Choosing from that seemed an impossible task. In total we were searching for 5 songs – 1 for our first dance, 3 for the town hall ceremony (entrance, signing and exit), and 1 for our own personal ceremony after dinner. The song for the first dance we thought we’d decided on by the time May came around (the others were finally settled on during the week before the wedding…how that stressed me out I can’t tell you). And it is the little story behind this song that helped me make my valentine’s card this year.

My parents came to visit at the end of May and, naturally, we told them about the song. We talked a bit about the artists and how we’d come to know them, and then practised our dance a little.

Cut to the moment on our wedding day after our first dance, when we were called aside by my parents and given a very special gift: the album on which the song appeared, on original, unplayed vinyl – signed by the surviving female singer. This surprise was an even bigger one than seeing my parents jiving – Where? How? When? – of course, we were amazed.

They told us that at a vintage fair they’d gone to in July, Keely Smith had been there signing autographs. She was old, and frail following an illness, but she was there and full of the edge she showed when she performed on stage with Louis Prima. My parents headed for a record stall, looking for one thing only – and found it. She was happy to sign, apparently punching my dad on the arm for giving her a pen that didn’t quite work, and happy to hear that some ‘young people’ were still interested in her music. My parents went home triumphant and full of glee.

Since all the DT at Scrapbook Challenges have been challenged to incorporate a love song into their projects this month, I’ve made an easy decision and gone for this one.

first card I've been happy with in a loooong time!
Don't forget, if you haven't already, get on over to SC, sign up, and get your share of the scrappy love!

Monday, 5 December 2011

Off Celebrating

It's the husband's birthday weekend, and somehow it's turned into a four-day celebration. Lucky he took Monday and Tuesday off work. Unlucky for me: I'm ill, ill, ill.

His card this year is a good reflection of how I was feeling when I made it. I was just beginning to see a bit of colour again, but my head was all over the place: buzzy, frenetic, wishing my cold would fly away.

this is me, ill, in card form - could be worse, I suppose!

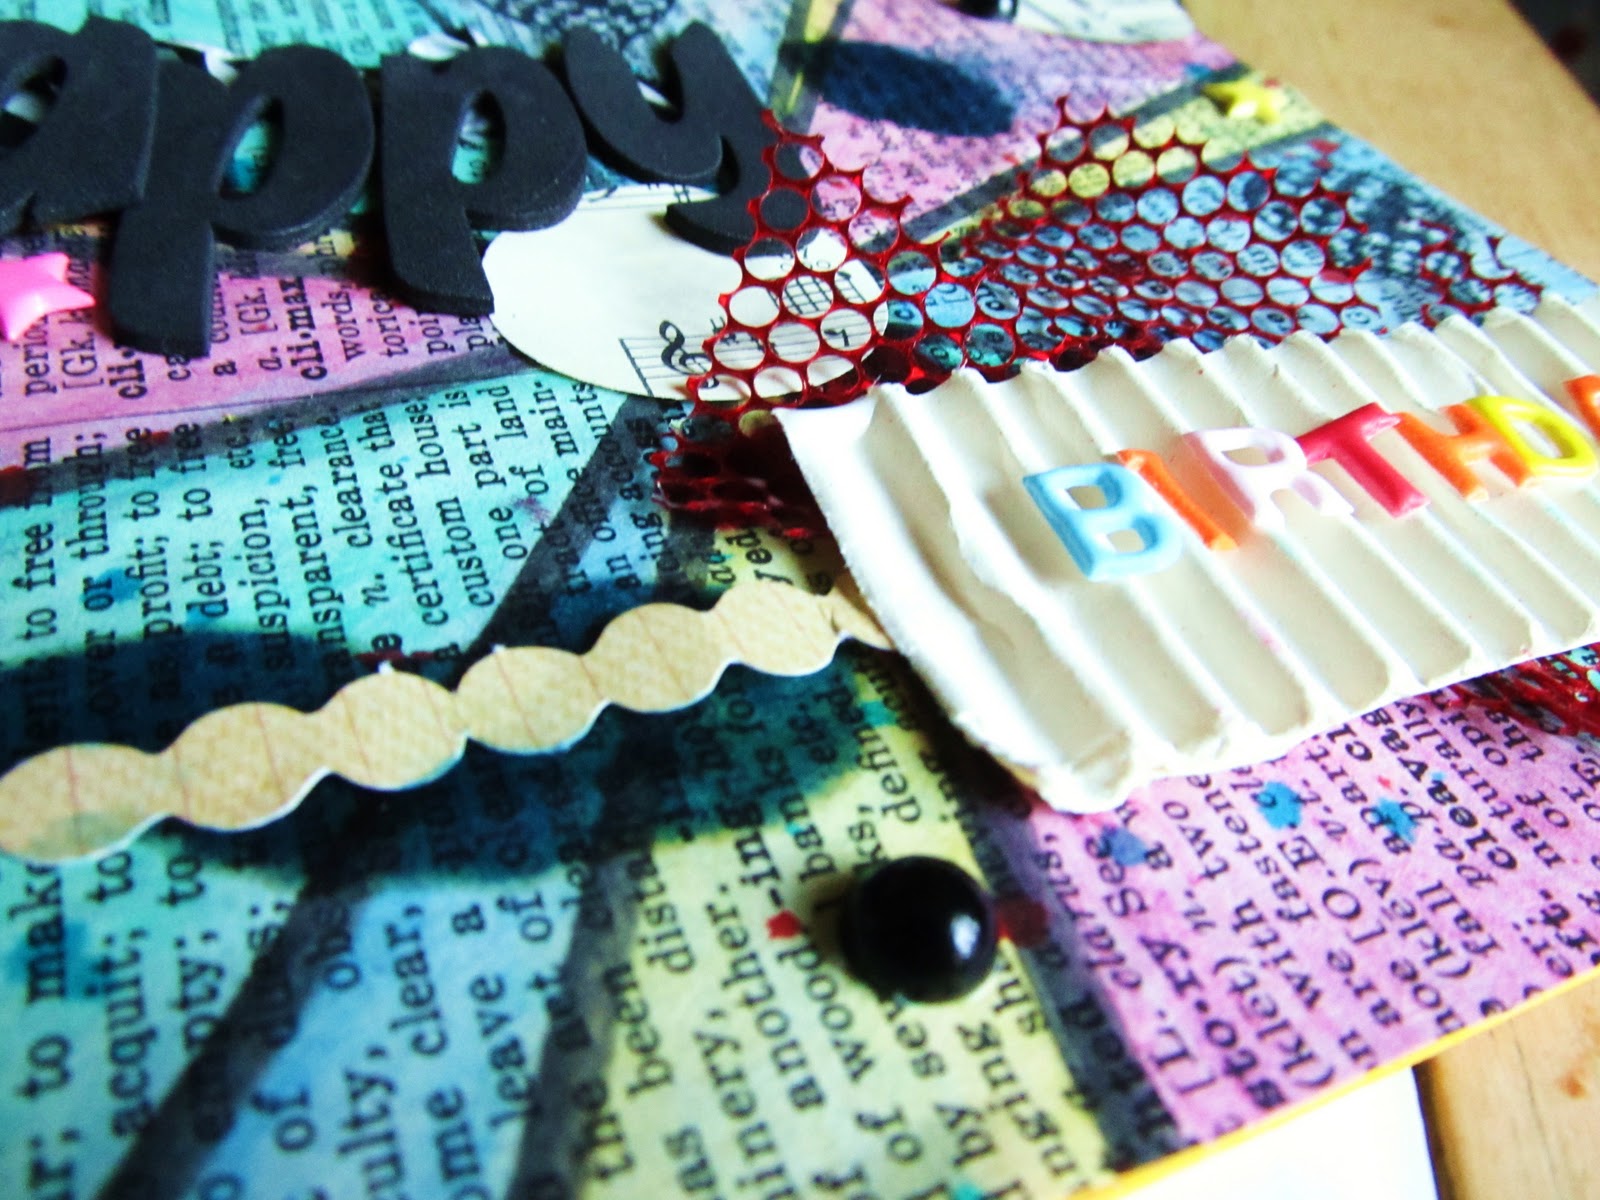
I used some Gauche Alchemy stuff of course - perfect for this kind of mood. New punchinella from India, ouchless cardboard and pages from an old dictionary and a music book. Most surprisingly of all, though, was the fact that I busted out my watercolour pencils after years of neglect - and I'm so glad I did. (Even if the red did turn out a bit pink - sorry, husband!)

watercolours, oil  paint and Cosmic Shimmer Mist make up this eclectic background
I sealed it all together with a home-made envelope:

that's the man's name
Happy Birthday, Husband!

Sunday, 20 November 2011

Christmas Already?

Time sure flies.

The flurry of post-wedding sorting, tidying, organising and documenting has only just started to calm down, and I find myself half-buried under an avalanche of card-making materials.

But it's the life I signed up for, I guess! Actually, this year, without a wedding looming in the near distance I feel very relaxed about Christmas preparations. Good thing, too, since I have nearly 100 cards to make for customers! The first batch has already gone, and I'm working on the second next week.

rolled paper scraps make a great Christmas tree
and give such interesting dimension to a card
the brief was traditional, but I like to add my own twist
again, great dimension from these baubles

and reusing last year's gift tags? genius!

 How about you? Have you started with Christmas yet? 


Wednesday, 16 November 2011

My Creative Process

I've had a few questions lately about my creative process, so I wanted to talk a little about that today. I've been asked whether I plan everything on a page or just go with the flow. I'll focus on layouts today.

Usually these days I start off with a sketch - Scrapbook Challenges and Punky Scraps DT duties provide me with most of them, but I also like to look at Creative Scrappers and others that come up along the way.

Punky Scraps Challenge 34 sketch
my take


Then I spend a good few days thinking about the theme of the layout - I'm finding I like to tell a story on a page, but not necessarily with words. My journalling is usually on the back of the page these days, or hidden in an envelope or pocket somewhere on the page. So I think about the story, and which embellishments I have that can help me tell that story. Gauche Alchemy kits are great for finding the right bits and pieces.

I'll usually re-draw the sketch myself, adding notes about layers, embellishments, techniques and so on.

Next - and I find this Absolutely Important - I select the Most Appropriate background paper (I'm making 12x12 and A4 layouts at the moment). This is the true beginning. I have often made the wrong selection. I rarely go back and redo a page if I've already finished it. But if I haven't yet begun, or have only just begun, I will go back and select the right paper.

From this, the colours and textures will start to flow. Keeping the sketch in mind, I think about the page layer by layer - do I want the rub-on under the paint? Should I mist and mask the base paper? Can I stamp over that series of paper strips? Can I stamp over that stamp already there?

And then I get started. I roughly follow the sketch, but don't get panicked if things start to go off course. It's an organic process, and a page may turn out looking very different to a sketch in the end. I make mistakes, and accept them. I commit.

I've made a few 'test' pages, practising techniques and so on, but I've never been happy with them. I seem to be happier experimenting as I go. And it's this experimenting that is helping me develop my skills and broaden my repertoire.

Take, for example, the punchinella that comes from Gauche Alchemy. There has to be more to it than just layering it underneath something, right? Play with it! Test it! Push it to its limits! There are LOADS of things you can do. See for yourself:


And a bonus this month:


the card I made with the punchinella resist technique

Experimenting is so important for the creative process. You can decide what you like doing, what you don't like doing, what you're better at, what you want to investigate more.

Go experiment!


Monday, 24 October 2011

Practising Alchemy

As a Gauche Alchemist, I am lucky enough to have received a package of goodies from them - a package which kept on spilling more and more goodies as I sifted through its contents.

I have been using Gauche Alchemy products in almost all of my creations since then - you'll remember My Bouquet, the Copenhagen Album, and the Skullies Box - but I've just made a (very almost) solely GA creation, and it was so easy. They basically provided me with everything I needed to put this card together - all I added was the spray mist, the ink and a Tim Holtz stamp.

a card without an obvious message - there were too many things to say

So, the card came in September's Going Postal Kit, along with the bakers' twine, the shiny orange circle stickers, the 'Comprehensive Guide' punch and the 'Congrats' fake stamp punch. The button came with the Scarlet Fever Mixed Media Color Kit. The map and the foreign text and the labels can be found in various kits and the ouchless cardboards is plentiful and varied and can be bought to suit your needs.

I got the look I wanted with the splashy flicky paint splatter look: I took the tube out of the mist spray bottle and dripped onto the card, and then blew with a straw so they spread out. I used Versamark ink to give a watermark stamped effect with the Tim Holtz sunray stamp at the top of the card. And then I just layered and layered and layered.

For more inspiration on what to do with GA goodies, check out the Gauche Alchemy SNR event later tonight - 7pm EST at Scrapbook News and Review. The SNR design team were given a bunch of GA products to work their own alchemy with. Pop in and see what they've been up to!

Saturday, 30 July 2011

Birthday Season

...it is around here, anyway. Today we're off to a Leo Party with about 40 others. We're all wishing for sun. But in the event that he doesn't put his hat on and come out to play... actually, there is no back up plan. We'll just have to wish really hard.

I've made a softly coloured card this year for my fiance's mum, who is a Leo like me. I've used my not-so-new but newly favourite technique of cutting lots of strips of paper and fanning them out across the canvas. It was inspired by this week's challenge at the Play Date Cafe, which looks like this:


And my card looks like this:


I'm off to the Leo Party. Have a great weekend everyone!

Monday, 4 July 2011

Red, White and Blue

Independence Day in the USA means a celebration in red, white and blue; a European in a multi-cultural city makes something in those colours, but for a different reason.

A couple of friends of ours announced their engagement last week. They live in Delft, in the Netherlands. A windmilly, red, white and blue Congratulations card is snailing its way to them as we speak.


Sunday, 26 June 2011

Pastels

Pastels.


They're not exactly my go-to shades. But lately, I've come to see that I can use them.


In baking if not in crafting. Actually, I did try here to use lilacs - that was really difficult. And more recently I tried to use them to make a card for a friend to give to her mum.


For the card I also used something else I don't love: flowersoft. I was pretty brutal with it though, so I think (hope!) it's stayed in place.

Anyone out there got a least favourite colour/shadeset? Wanna share how you get over it?

Tuesday, 21 June 2011

Happily Ever After: Wedding Card Special

While I was happy to have gone to my first wedding EVER as a guest a couple of weeks ago* some of my friends are boasting about having five, six, seven or even eight weddings to go to this year.

*It's true! Always the bridesmaid, never just a guest. What can I do about that? You might think it's handy to never have had to choose my own outfit, but I was itching to:


Anyway... one of my friends asked me to make her a batch of congratulations cards for all the lovers out there. I duly obliged, having weddings on the brain and all. She told me a little bit about each couple and I tried to interpret that and turn it into a card. I found this immensely fun. Some of my creations:


Mostly keeping it quite simple, aren't I? I can't let myself go with cards like I do these days with a scrapbook page. I'm itching to make another layout, but have to focus this week on making flowers. Sneak peek coming soon!

Thursday, 16 June 2011

My Heart Belongs To Daddy

Although I can't claim I ever was a daddy's girl (nor much of a mummy's girl, for that matter), I can say with certainty that as I've grown up my relationship with my dad has also grown. I now see him as full of wisdom, happy to give advice if I ask for it, supportive and then some, relaxed enough to trust my judgement on things, uncomplaining, and accepting of those traits I have which set me apart from the rest, and from him.

I know this post is kind of coming a few days early, but it's because I want to share a little tutorial for the card I made for this month's Scrapbook Challenges card feature and Fathers' Day.

I made a card that combines the fashionable accordion flower with the more old-fashioned rosette.

So, grab your materials: cardstock, concentrically sized circles, and a strip of paper to score into the accordian flower. I embossed the lighter blue cardstock with a woodgrain folder to give the card more masculinity.

 
Ink all the edges of all your shapes, fold the cardstock into a card and stick the embossed part onto the cardbase. Then start to make the flower.

Score the strip of paper (30cm in length; the width should measure half the diameter you want the flower to be) at 1cm intervals and then fold alternately (mountain and valley folds for origamists). Stick together with double-sided tape (this is what you see in the picture above).


Push one edge of the flower in towards the centre. This is really where the magic happened for me - the first time I made one, it all suddenly just popped  into place. Hold it down with one hand, and stick your largest circle on to hold it in place. I'd recommend using a hot glue gun for this.


Then stick on the medium circle and then the small circle. It's a good idea to punch an extra one to stick on the back so it's easy to stick the flower to the card.


Then cut two ribbon-shaped  strips (or, yes, use ribbon!) and stick them onto the back before sticking the flower onto the card (again, with a glue gun).


Finish off by cannibalising some wrapping paper, or using specific scrapbooking fathers' day embellishments.

A quick reminder: remember this page I made recently? Well, it's up for lifting on the True XOXO Girls blog - get your entries in in the next two weeks to be in with a chance of winning some goodies!

Oh, and before I go... check me out for getting featured on Paper Issues!

Tuesday, 14 June 2011

At Last

As you may remember, I had (like most other people out there) some computer issues a couple of months ago. Namely, my computer showed a dislike of wine and shut down with a flicker and a huff, and wouldn't wake up again.

Apparently, though, it is possible to dry them out. After purchasing a shiny new laptop, I eventually braved the on button of the old one... and whaddaya know? It works. Just like it did before.

So, at last, I can share the original photos of our wedding invitations.

cute, no?

This is but one of the piles of them:


And here is what they look like on the inside:


You simply slide off the outer band, and you have three cards - the invitation proper, some info and an RSVP:


We used Bazzill swiss dotted white cardstock for the sleeve and some paper from MME for the cards (Lost & Found Union Square "Happy" paper). I did a little bit of letterpressing for the "&" circle, some fussy cutting to get the printed swallows, and employed some good old Cricut action for the hearts and stars. Oh, and a circle punch for the sleeve.


Now, although I didn't think I was doing any jumping, there really is a bandwagon. And not in a bad way. Over at Paper Issues there is a linkup opportunity for wedding projects. Yes, I've already played linky a few times this month, and there will be more linkups before the month is over!