I'm keeping it simple because I'm making in bulk. I made 10 of these, for example. To complete the collections I just need to add some female birthdays, some blanks, some get wells, and maybe a housewarming or two. And all by the end of this month!
Friday, 4 June 2010
Hey, Baby Girl
Another set of cards for friends and family. This time, for a new baby girl:

I'm keeping it simple because I'm making in bulk. I made 10 of these, for example. To complete the collections I just need to add some female birthdays, some blanks, some get wells, and maybe a housewarming or two. And all by the end of this month!
Labels:
baby,
button,
buttons,
card making,
flower,
flowers,
hand made,
hand made card,
handmade,
handmade card
Thursday, 3 June 2010
All About Me
I've been doing a lot of soul-searching lately. I'm no closer to any answers, but I did portray the questions on a layout:
I finally got my sewing machine out and added some stitching to the page, and I used foam pads to raise the words off the page. I also watered down some acrylic paint, put it in a little spray bottle, and sprayed it onto the page.
Labels:
clean and simple,
scrapbook,
scrapbooking
Tuesday, 1 June 2010
Flower Making Tutorial
At the end of June I'm giving some craft classes to teenagers as part of a summer school for learning English. Exciting! They'll get to learn the words 'scallop', 'distress' and 'emboss' before they've learned about irregular verbs!
I'll post more about the classes when the time comes, but for now, I'm in preparation mode. A key element of these classes is keeping the costs down - both for me and for the students. So I've decided to make a load of flowers instead of buying them. While I'm waiting for a special punch and emboss product to arrive on my doorstep, I'll settle for these steps:
1: Gather together your paper scraps.
2: Tool up!
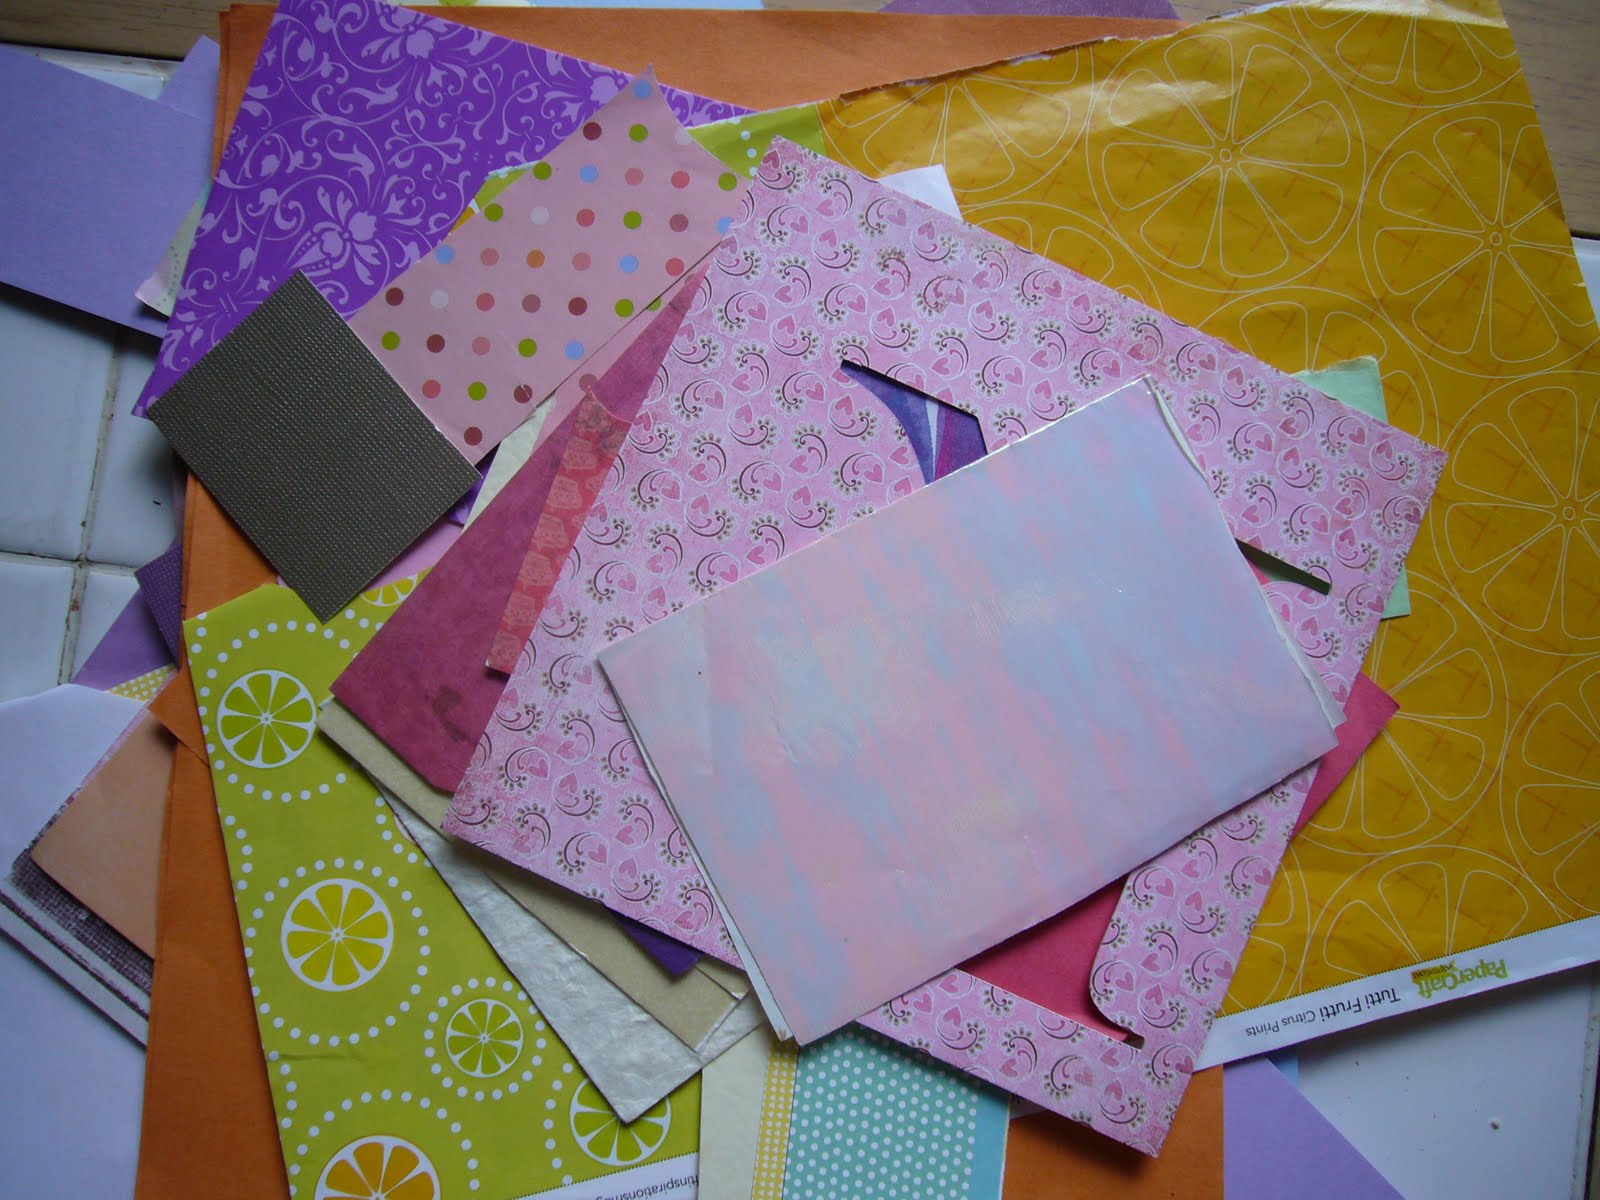
3: Prepare the paper: let yourself loose on what you want your flowers to look like. You could use patterned, textured or plain old paper or cardstock:
You could stamp:
You could emboss (with a Cuttlebug if you have one, you lucky people):

Or try out any other techniques: paint, glimmer, gloss, flock, distress, acetate...
4: Punch or cut flowers:

Or try out any other techniques: paint, glimmer, gloss, flock, distress, acetate...
4: Punch or cut flowers:
5: To achieve a look that is much more textured, much less flat, and much more attractive in general, use an embossing tool (if you have one) or the end of a thin paintbrush (if you don't) and do it by hand. For this technique I used a vellum flower:
With the end of a paintbrush, slowly work on each petal by moving the paintbrush in increasingly larger circles, pressing down quite firmly:
Then turn the flower over and repeat the motion in the centre:

If you like, give the flower extra 'plump' by curling the petals around the paintbrush:

And there you go - no more flatness:

I actually used the grouting lines of my tiled kitchen table for this pink flower to achieve a deeper fold:

6: Store flowers in a really neat box.

And OK, after an afternoon of work, the box is half-filled. Just how many flowers will teenagers want to use, anyhow? Hmmm...don't answer that. I don't want all my work to be in vain!
Then turn the flower over and repeat the motion in the centre:
If you like, give the flower extra 'plump' by curling the petals around the paintbrush:
And there you go - no more flatness:
I actually used the grouting lines of my tiled kitchen table for this pink flower to achieve a deeper fold:
6: Store flowers in a really neat box.
And OK, after an afternoon of work, the box is half-filled. Just how many flowers will teenagers want to use, anyhow? Hmmm...don't answer that. I don't want all my work to be in vain!
Card Season
It seems that everybody's celebrating their birthday at the moment (or are making some other kind of celebration if it's not their birthday). I just keep finding I have more cards to make. Here is the latest batch.
I used Webster's Pages ''Postcards from Paris" paper for this one, and the edge of a Sassafrass Lass paper for the scalloped bottom (Life is Beautiful Woodland Whimsy). For the flower, I used up a lot of scraps and cut and embossed the shapes. (For more on this, look out for my next post.) Then I layered lots of different sized flowers to make one big flower, fastening them together with a brad.
The paper featured on this simple Father's Day card is Scenic Route "Argyle", and the stamps are from Inkadinkadoo:

And this card, for my partner's 7-year-old niece, uses paper from a stack of Smirk papers called "Love and Friendship".

I added some ribbon, flowers and sparkly letters, and then double-scalloped the bottom of the card for a pretty, colourful effect:

I added some ribbon, flowers and sparkly letters, and then double-scalloped the bottom of the card for a pretty, colourful effect:
All in under two hours. It's nice when it works because you've planned ahead :-)
Labels:
birthday card,
card making,
father,
fleur,
flower,
flowers,
hand made,
hand made card,
handmade,
handmade card,
paper
Celebrating Brussels
We've just recovered from a totally excellent FREE Jazz Marathon weekend put on by the city of Brussels. Highlights included two exciting open-air concerts which were very distant from what most people think of when they see the word 'Jazz', a too-fast but very fun rock 'n' roll dance lesson, and my sister-in-law suddenly joining in with a gig (it's OK, she's performed with the act before!).
So while I'm waiting for the Jazz Marathon photos, I've decided to focus on something else that Brussels can boast about: Art Nouveau.
The building in the photo on the left page has been covered with scaffolding ever since we took the photo, which was on the clearest day in January (2009). So glad we captured it when we did, because lately peeking through the scaffolding we can see the ironwork is now painted bright green....hmmm. The Art Nouveau graffiti in the photo on the right page is on the shutter of a shop in tourist central (in other words, it is hardly ever down, so we were lucky to catch it that day). I love its colour, and the way it exhibits simplicity yet also curvy, swirly beauty.
I spent a little time quilling for this double 20x20 page layout, but that is pretty much all it consists of. Except for the great photos, of course.

Labels:
art nouveau,
craft,
paper,
papercraft,
quilling,
scrapbook,
scrapbooking
Subscribe to:
Posts (Atom)