Showing posts with label embellishments. Show all posts

Friday, 18 November 2011

Punky Recipe - the Star of the Show

It's time for another Punky Scraps challenge! Don't try to resist, because this one is too good to miss.

Make a page from the following ingredients:
  • Stars
  • No patterned paper
  • Masking
  • Staples
  • Exposed cardboard
  • Book page
  • Bottle cap
  • Washi tape
Credits can only go to Inkadinkado and Tim Holtz for the star stamps
Not using any patterned paper was the biggest challenge for me - the biggest to date. (At least I know the need to use patterned paper will prevent my stash from ever getting out of control.)

I used everything on the list EXCEPT for the bottle cap because I FORGOT it. I had a Newcastle Brown Ale bottle cap somewhere (it has a star on it - perfect) but I only remembered it after I finished the page.

Love stars? Love ripping up cardboard? Look no further...
Again, as I mentioned in my previous post, I spent a LOT of time thinking about this page. I left it till the very last minute, and then woke up on the last day before deadline with the idea in my head. This time, the ingredients were decided for me; it was the laying out of the page that was taking time to come into focus.

I would LOVE to see people playing along with this challenge especially, so please pop over to Punky Scraps and check out the inspiration from the DT.


Monday, 14 November 2011

Happy Days

We'd already been planning our wedding for a long time when Echo Park's Happy Days collection came out. To be honest, I was so consumed with making wedding decorations that I hadn't really thought ahead to what the post-wedding scrapbooking would be like. Echo Park saved me the trouble, in the end. More than that - it was a match made in heaven.

Of course, recently I've been getting stuck in to that post-wedding scrapping, recording our happy day.

This layout you've already seen:

Materials used: American Crafts Thickers (Rainboots in Aqua Glitter Foam); Bazzill White cardstock; Echo Park: Dots and Stripes in Concrete, Happy Days chipboard accents, Happy Days element stickers, Happy Days journalling cards, Happy Days paper (Checker Board, Little Flowers reverse side); My Mind's Eye paper (Lost and Found Union Square Perfect "Happy"); Tim Holtz Bitty Grunge stamp set.
{Scrapbook Challenges Sketch #271}

I stitched and stamped before sticking down the paper strips. Then I added a printed swallow, a Cricut-cut nautical star and an RSVP - all from the wedding invitations - as extra memories. Finishing off with Happy Days chipboard shapes and Thickers was a doddle.

Why so easy? Well, Echo Park has pretty much decided my theme for me - I still want to be quite free and 'different', but I do want to have some main colours and motifs running through the pages. And Happy Days is perfect - you've seen the photos of the wedding. It should help me reach that subtle theming I'm after.

I made another Happy Days layout last week - taking into account this layout too, do you think I've achieved continuity?

Materials used: Bazzill Dragonfly cardstock; Echo Park: Dots and Stripes in Concrete, Happy Days alpha stickers, Happy Days element stickers, Happy Days journalling cards, Happy Days paper (Checker Board reverse side); Gauche Alchemy Punchinella;Tim Holtz Bitty Grunge stamp set; Toga alphas; vellum.
{Creative Scrappers sketch #181}

For the border, I cut up the remains of this chequered vellum I've had for years and machine-stictched it on, then drew a couple of extra outer lines with a black pen. To make the chevrons, I cut a strip of the reverse side of Happy Days Checker Board paper, and then cut this strip into squares. Keeping the squares in a line, turning every other square 90 degrees gave the rough pattern; then it was just a question of lining the stripes up and trimming the edges. I did the same with the Dots and Stripes paper.

yummy!

Since we went for cupcakes as the wedding cake, the Happy Days element stickers had to be used: cupcakes, layer cakes and sundaes - yummy! I cut around the cake on the journalling card a little so it could stick out over the photo. Then the title - punchinella, more chevrons, and lovely pure alphas.

And finally, my piece de resistance this month...


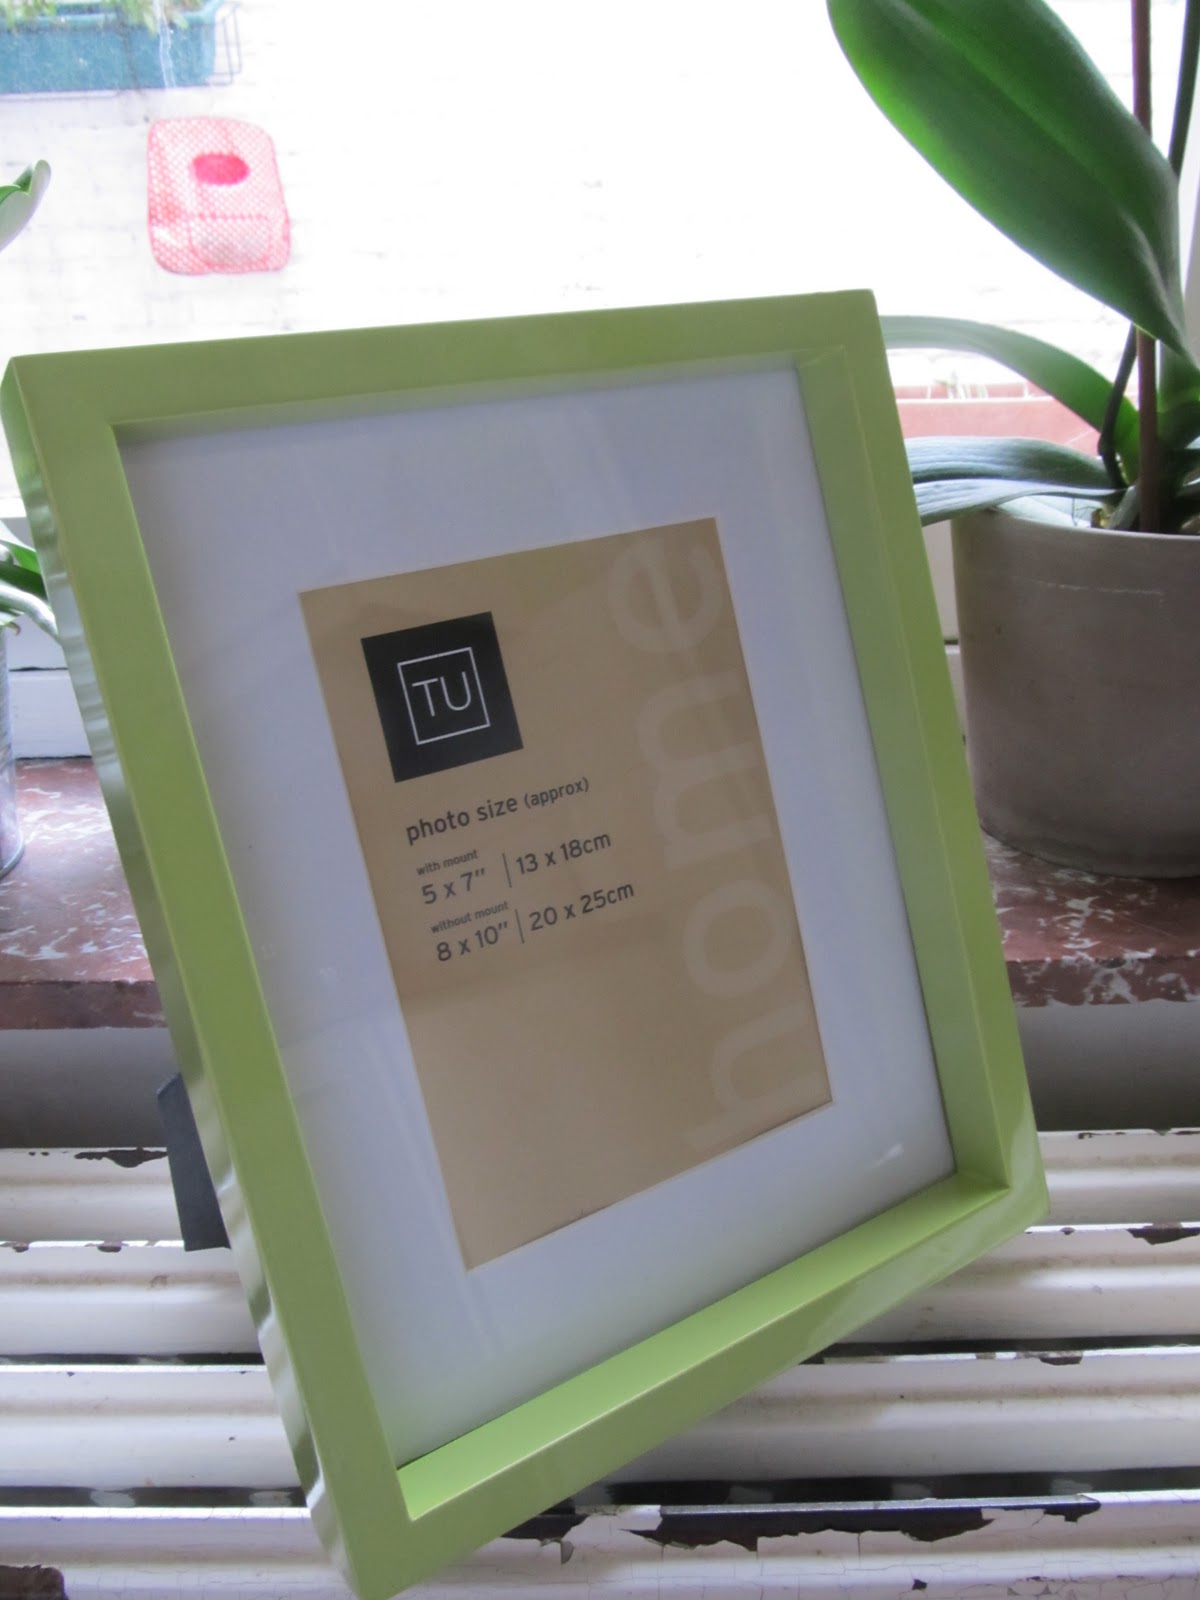
....take one deep photo frame from a well-known supermarket chain, take it apart, and make it your own!

Materials used: Echo Park: Happy Days alpha stickers, Happy Days chipboard accents, Happy Days element stickers, Happy Days paper (Ads, Retro both sides); Gauche Alchemy Punchinella and various Mixed Media Color Kits elements.

The frame comes with a super-thick inner mount that is quite wide, providing a great working surface. I drew around the mount directly onto the patterned paper and then simply cut out the shape I wanted to partially cover the mount. I did a teensy bit of fussy cutting to get the Retro flowers; glued some GA elements onto some thin wire and stuck them down behind the big chipboard title; and then just layered the rest up.

because the frame is so deep you can really go to town on the layering

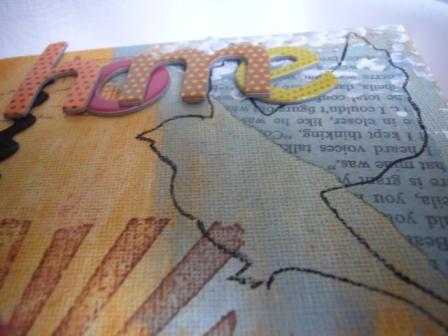
on the subject of matches made in heaven... look at this Echo Park Happy Days chipboard accent with a vintage mini film negative from a Gauche Alchemy Mixed Media Color Kit


Friday, 11 November 2011

It's All About The Journey

I'm loving this artistic journey I'm on, and I'm finding myself fascinated by the twists and turns a journey can take, and how each new avenue leads to change, influence, adaptation and improvement. All those terms are subjective, obviously, but I really mean them in a sense of how happy I am with my creations and the direction they are heading in.

A journey can be so many different things.

This life journey I'm on, for example: I'm married now, and I feel like we can take on the world. We will go places together. 

All this and more fed into this layout as I was making it for this week's Punky Scraps sketch challenge. I wanted to pay homage to life and living, to enjoying and experiencing the journey as we are on it, not just after it's finished.


Don't you love it when you look at something you've made and it makes you happy? I used: Basic Grey Basics and Wander paper and Wander rubons, American Crafts Thickers and Toga Alphas, Sassafras Lass bunting sticker, Heidi Swapp Ghost Alphas, Glitz transparency, Echo Park For the Record journalling card, and Gauche Alchemy goodies (feather, sequins, plastic embroidery grid, map, foot paperclip, WOODGRAIN PUNCHINELLA!) 


how great is that foot paperclip?!

Go check out the sketch and the other DT members' awesomely punky work, and share a tiny slice of their journeys too.

Tuesday, 16 August 2011

Counting Down

I might have mentioned here that there would soon be a plethora of grey-plus-a-colour pages on my blog. Scrapbook Challenges' sketches are helping me create layouts right now, which is good because there's no time to think up sketches of my own. Here is this week's:


I'm counting down to the big day, and it's already a lot closer than when I made this layout.


Look! I used pink AND hearts! I'm really pushing my boundaries!


That dotty, puffy heart above is from a Gauche Alchemy Color Kit - you'll see lots more products in the coming months!

Sunday, 1 May 2011

Question: What's Red, Frilly and Spanish?

Answer: a flamenco dancer!


I've always admired fashion designers, not only for the clothes they make, but specifically for the simple, elegant lines they use when sketching their models and ideas. You might remember I posted here about trying to draw. Well, I tried again, and I combined it with a little paper piecing, a little Copic colouring and a lot of tiny rolled flowers, and I got this.


I tried to employ that fashion designer style of sketching - underneath the bold black pen were many pencil lines, until I committed and rubbed them out. I kept her face simple, her arms simple but with a bit of perspective, and even braved a foot this time.


I like her. I think she's pretty. And I love her hair. And the fact that I made her.

Wednesday, 27 April 2011

Oh, the Bluebells!

Easter walks at the weekend were a joy in themselves. Little did we know, as we rounded a corner in the woods, that we would be met with the breathtaking sight of a carpet of bluebells, undulating up the hill, between the trees and out of sight.


I combined this awe with my wildcard challenge this month over at Scrapbook Challenges which was to make a layout using one colour that you're not fond of and an embellishment you're uncomfortable with. Mine were: lilac, and flowers. And I have to admit, the challenge proved too much for me. It goes without saying that in responding to the challenge you should come up with something you like; but I'm afraid, despite some photo printing that I'm happy with, I can't get over the lilac, and I'm not entirely in love with my page. Nevermind; I'm sure my little niece-to-be will like it when she sees it - especially as she's the model in the photos.


I also entered the layout for the Pencil Lines challenge this month (using sketch number 234). But I'm wondering, what are your least favourite colours and embellishments, and why?

Thursday, 31 March 2011

A Bride and Her Maids


I'm gambling on the bride in the picture not reading my blog, as this is her 30th birthday present and it's not her birthday for another week. I hope I haven't spoiled the surprise! Anyway, I made this page for a friend who got married a few years ago.


It's inspired by a Pencil Lines sketch from March (and the reason I'm posting it now is so that I can enter in time).


You can't see because the photo is black and white, but the blue I've chosen matches the bridesmaids' dresses (and that's me, on the far left of the photo). I also used a bit of orange - not my favourite colour, but I love how it goes with the blue.

I hope my friend likes this. And is surprised by it, in a good way of course.

Thursday, 17 March 2011

A Blank Canvas

On Monday I said I would share a few more things from the market, so here I am, with my first real foray into mixed media canvases.

Up until last week I had three small (A6-ish) canvases sitting in a drawer, since forever probably, and although I knew they were waiting patiently for the right time to be unfurled to the world in their proper state, I was a little impatient with myself for not being ready for this magical time to occur.

Last week the time came. I laid out inks, sponges, brushes, paints, stamps, glue and a few other miscellanies and got messy. Here's what I came up with:


... and now I've released them to the world, where they can fulfil their destiny.

While I've got your attention, I'd like to announce quickly that following a short delay, March's scraplift challenge is up and running at the True XOXO Girls blog - pop on over if you feel the need for some layout inspiration. If you do end up lifting any of the gorgeous pages there, including mine (let's just take another look at it)...


....then you'll be in with a chance of winning a luscious prize from Candy Shoppe Designs. I know their kits, and I can tell you they are DELICIOUS.

Monday, 14 March 2011

After the Market

Yesterday I was at market. While many of you I'm sure were having a nice, relaxing Sunday, maybe at home or maybe strolling around a craft fair yourselves, I was behind a stall. Operating (or trying to) in French. And today I'm exhausted :-)

I just wanted to show you a few things I made for sale.


...Some altered wooden hanging hearts...


...a clipboard (I confess, I copied the one my mum made for me below)


...some embellishments...

...some gift tags (actually these are leftovers from a batch I made ages ago)...


...and some tags that my mum made for me to sell...

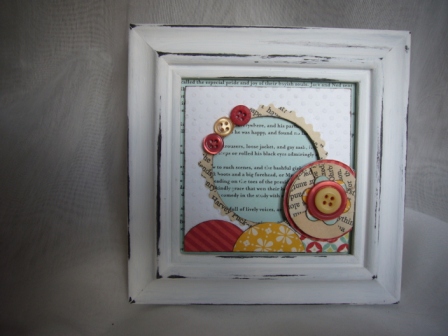
...as well as a couple of altered frames...


There were some other things I made too, but I'll share these another day - have to catch up on some sleep now!